The Blight takes root on every map. Survivors harvest glowing spore pods under pressure,
the horde traps them, a boss can crash any round, and everything you gather buys upgrades and
classes you keep and use all year. This is every piece of it, and exactly how it works.
Coming in October · numbers may still change before launch
3resources to gather
7Halloween perk upgrades
3event classes to earn
2round bosses
10limited-edition hats
4–6weeks long
Everyone
The short version
Halloween runs on top of normal Infected rounds. Nothing about hiding, surviving or infecting changes.
What it adds is something to fight over: spore pods sprout around the map a few seconds after the
infected are released, and each one pays Spores, sometimes Marrow, and rarely Heartwood.
Spend them in /halloween on upgrades and event classes that stay yours, and keep working
all year.
As a survivor
Harvest pods and take on the Brood
Host if it rises. Your haul is paid at the end of the round.
As the infected
Trap pods so the next harvester lights up, and defend your
Blight Heart from the Harvestman.
Everyone
Earn three event classes through quests, unlock Halloween upgrades
for your perks, and grab a limited-edition hat before they're vaulted.
Everyone
How a Halloween round plays out
Rounds keep the usual 60-second hide and four-minute outbreak. Here is what the event layers on, in order.
Everyone lands on the map
The boss roll
Before the Mother Zombies are picked, the round rolls for a boss: a 15% chance for each boss the
map has (so a boss in 30% of rounds on a map with both), and never more than one a round. If one is coming, everyone is told straight away, with a
title, a sound and a pulse of darkness, and where it will be.
The hide phase
Pods lie dormant
Every pod shrinks to a sapling and can't be used. Their labels read "Sprouts once the infected are out".
Release
Pods sprout, and the Brood Host rises
Each pod ripens at its own random moment in the first 30 seconds, so there's no single rush. If the
round rolled the Brood Host, it rises at its nest the
moment the infection begins and stays all round.
All round
Harvest and trap
Survivors harvest pods. The infected trap them so the next harvester lights up.
2:50 left
The Harvestman walks in
If the round rolled him, the Harvestman comes for
the infected's Blight Heart, and the horde has to stop him.
30 seconds left, then round end
The pouch pays out
A "30 seconds left" chat line and sound (in every round, not just Halloween) tell you the end is close.
When the round ends, everything you earned in resources lands in your account, as long as the round was
a real one. See the rules.
Note
Pods and both bosses only run in rounds with 6 or more
players. Smaller rounds play as normal Infected.
Survivors
Spore pods
Staff hand-place pods on every map, never inside a spawn sanctuary. Every harvestable pod wears a floating
label so you can tell it from decoration, and ripe pods sparkle in their own colour.
How to harvest
Hold right-click on a ripe pod for 1 second. A progress bar fills on your action bar.
The harvest breaks if you let go, move more than 1.5 blocks, take any damage, or the
pod stops being ripe. Get caught mid-harvest and you lose it.
Every harvest pays 2 cookies on the spot (boosters count). The resources go into your round pouch.
A harvested pod shrinks back to a sapling and regrows after 2 minutes in a 6-player round, and faster the more players there are (90s with 8, 1 minute with 12, never under 40s), so a full lobby has as many pods to go round as a small one.
You can harvest at most 10 times per round.
Taking the same pod twice in a round still pays cookies and Spores, but no Marrow or
Heartwood roll and no Pod Roll. Move around the map.
The five kinds of pod
The kind is set when a pod is placed. Each harvest pays the Spores shown, plus a chance at one Marrow and a
separate chance at one Heartwood.
Pod
Spores
Marrow
Heartwood
How to spot it
Spore Pod
3–5
30%
—
The everyday pod. Green label.
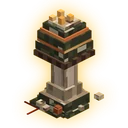
Prime Spore Pod
3–5
70%
12%
Bigger, lit from inside, sparkles gold. The best Heartwood odds.
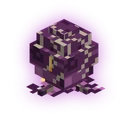
Blight Pod
4–6
40%
3%
A sealed egg pod that bursts when taken.
Giant Puffball
6–9
15%
—
All Spores. Bursts into a cloud when taken.
Glowcap Cluster
2–4
55%
6%
Fewer Spores, good Marrow and Heartwood odds.
Heartwood is the rare one, so the whole server sees it in chat whenever someone pulls Heartwood
from a pod.
The Pod Roll
Every harvest that pays in full also rolls once for a bonus. The reels spin on your action bar, and
most of the time nothing extra lands. When something does, it's one prize from its tier:
Tier
Chance per harvest
One of
Legendary
0.4%
2 Heartwood, or 2 cosmetic crates
Epic
1.5%
A cosmetic crate, 3 Marrow, or 250 cookies
Rare
5%
A golden apple, 25 Spores, or 75 cookies
Uncommon
10%
A Web Bomb, a Mystery Chest, or 5 cookies
Rolled Spores, Marrow and Heartwood go into your round pouch like the rest. Epic and legendary wins are
announced to the whole server. A legendary gets a title, a fanfare for everyone and a burst of totem sparks.
Reading the label
"Hold right-click to harvest": it's ripe.
"Being harvested...": someone is on it right now.
"⟳ Regrowing within 2 minutes": already taken. It tells you roughly when it's back, never the
exact second, so there's no point standing on it.
"Sprouting within a minute": dormant at the start of the round.
"Needs 6+ players": the round is too small for pods.
Infected
Trapping pods
The infected can't harvest, but they can turn a pod against whoever takes it next.
Hold right-click on a ripe pod for 5 seconds to trap it. It breaks on the same things as a
harvest: letting go, moving 1.5 blocks, or being hit.
A trapped pod looks completely normal to survivors. Infected within 32 blocks see a red haze on it.
The next survivor to harvest it still gets paid in full, but glows for everyone for 3
seconds with a "TRAPPED! The horde can see you" title.
The trapper earns +0.25 scorestreak.
A trap is used up by one harvest, and every trap is cleared when the next round starts.
Tip
Trap the pods survivors keep coming back to: prime pods, and the ones
near popular hiding spots. Then wait nearby.
Everyone
Resources & the round pouch
The three resources are Spores (the common one), Marrow (uncommon) and Heartwood
(rare). They're spent in /halloween on upgrades
and event classes, and they carry over to next Halloween.
Nothing ever wipes them.
Everything goes into a pouch first
Resources from pods and boss kills aren't paid the moment you earn them. They collect in a
round pouch that pays out when the round ends, and only if the round was a real fight.
All three of these have to be true:
Rule
What it means
The horde fought
Infected players dealt at least 10 hearts of damage to survivors in total. Damage from the Brood Host doesn't count.
Enough players
At some point the round had 6 active players at once (AFK players don't count).
A real horde
At some point there were 2 infected at the same time.
If any rule fails, you keep your cookies but the round's resources are void, and you're told why.
If the Brood Host is still alive when the round ends, every pouch pays two thirds (rounded down).
Left before the end? You're still paid, as long as the round qualifies.
Why
The pouch stops pods being farmed in empty or fake rounds: no
horde, no harvest. Twenty or more pods taken in a round where nobody got infected also alerts staff.
Mostly survivors
Halloween upgrades
Seven of your prestige-shop perks get an extra Halloween rung on top. Buy them in /halloween
with resources.
It works once its perk is level 2 in /prestigeshop (Final Stand's top level is 2), so
every upgrade is 1-4 prestiges away (Final Stand, at 5 tokens, is the long one). You can buy it before
that. There's no rank requirement.
They can only be bought while the event is on, and once bought they're yours for good. No perk
reset or refund removes them.
They keep working all year, not just during Halloween, as long as the perk is level 2 or higher.
Double Tap →
Spore Head
Left-click with your bow (or crossbow) to fire a fast spore bolt that flies straight. An infected
it hits takes 2 hearts over 4 seconds and Slowness I for 3s. Recharges in 30s,
shown on your bow's durability bar.
600 Spores90 Marrow20 Heartwood
Scavenger →
Forager
Every melon your Scavenger rolls comes as a Spore Sapling instead, which heals 2 hearts,
twice a melon.
300 Spores40 Marrow5 Heartwood
Demolitionist →
Spore Bomb
Your Demolitionist grenade has a 12% chance to be a Spore Bomb: a frag-style blast (radius 4,
5 hearts) that also leaves the infected Dizzy for 2s. It hurts the Brood Host too.
450 Spores60 Marrow10 Heartwood
Juggernaut →
Sporeplate
Your chestplate comes with Thorns I, on either side of the fight.
450 Spores60 Marrow10 Heartwood
Flak Jacket →
Thornshell
When an infected ability hurts you, 25% of the damage you took bounces onto every infected within
2 blocks, credited to you. Several wearers together don't stack it.
600 Spores90 Marrow20 Heartwood
Final Stand →
Last Harvest
When Final Stand brings you back, you return in a golden helmet and golden boots instead of
leather, with 1 random grenade (frag, sticky, flash, fire, ice or dizzy).
450 Spores60 Marrow10 Heartwood
Shuriken →
Spore Star
A shuriken hit also blinds the target for 3 seconds.
300 Spores40 Marrow5 Heartwood
All seven
The full set
Every Halloween upgrade costs this much in total. Each one works once its base perk is level 2.
3,150 Spores440 Marrow80 Heartwood
Infected
The three event classes
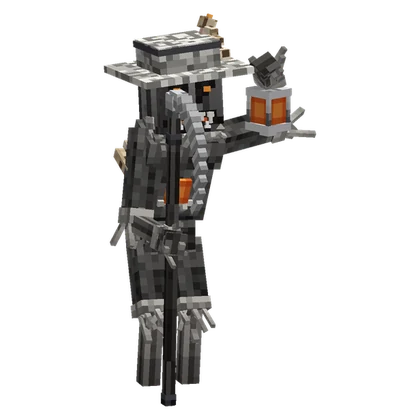
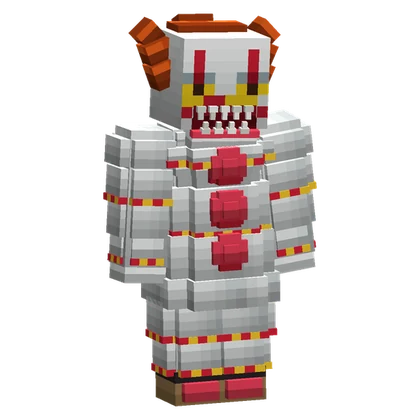
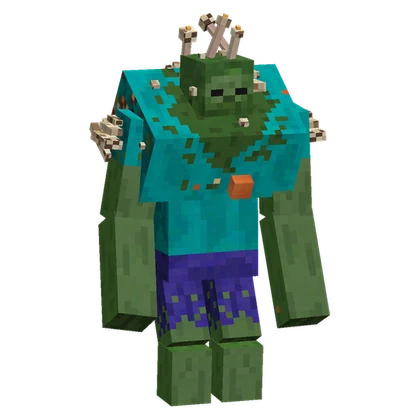
The Scarecrow (the top class), the Clown and the Mutant are earned, never bought with
money:
Finish the class's three quests, then buy it in /halloween with resources.
Quest progress is shared: one infection counts towards both the Scarecrow's and the Mutant's infect quests.
Quests only count while the event is on, and progress is saved.
Unlocked classes are yours for good, and playable all year, not just during Halloween.
Each has three class skills like any other class (2 class prestiges and a Skill Token unlock them).
Send a tunnel of 12 bats streaming into the survivor in your sights (up to 24 blocks, line of
sight needed). Over 5 seconds they bite 5 times for 2 hearts in total. If that survivor is
infected, gets more than 30 blocks away or breaks line of sight, the tunnel swings to the next survivor,
up to 3 in total. A survivor who's blocking takes no bite damage. No target, no cooldown spent.
Rise
Every bite that lands charges Rise by 15. At 100 you get a lantern: use it to climb out of the ground
2–3 blocks from a random survivor. For the 2 seconds you're rising you can't be hurt or hurt anyone,
then you have Weakness I for 5s. The charge lasts all round, even through deaths.
Passive
Sticky and flash grenades do nothing to you.
Unlock quests
Harvest 40 spore pods
Trap 10 ripe pods as infected
Infect 15 survivors
1,200 Spores150 Marrow25 Heartwood
Class skills
Split Flock: two beams of 8 bats on two survivors, so Rise charges twice as fast.
Grasping Roots: survivors within 3 blocks when you Rise are rooted for 1.5s.
Carrion Mark: every bite that lands makes that survivor glow for 4s.
Mark a survivor within 28 blocks (they're warned), and after a half-second wind-up you corkscrew
at them on a bunch of balloons at about 27 blocks a second, steering after them for up to 1.5s.
It does no damage: the mark and anyone you pass close to are blinded for 3 seconds and
shoved. Walls stop you. No fall damage. No target, no cooldown spent.
The planted balloon
Where you land, a balloon is planted for 6 seconds. Survivors within 4 blocks get 3 balloons tied
on and their screen fills with drifting balloons for 5s. Survivors can pop it by hitting it.
Passive · Pop
Hitting a survivor who has balloons tied on pops one and gives you Speed I for 3 seconds, up to
3 pops per survivor.
Unlock quests
Survive 5 rounds to the end
Kill 30 infected as a survivor
Harvest 8 prime pods
900 Spores110 Marrow16 Heartwood
Class skills
Encore: for 3s after landing, press again to rocket at a second mark.
Surprise Party: when your balloon pops or runs out, survivors within 4 blocks are blinded for 2s.
Balloon Animal: your balloon becomes a balloon dog that trots towards the nearest survivor.
The only class built for teamwork. Pick up another Mutant (right-click them, or use the ability
with one within 4.5 blocks) and press again to throw them where you're looking, about 28 blocks on
flat ground and further if you aim up. You're slowed while carrying and drop them after 2s. The thrown
Mutant takes no fall damage for 8s, and the first survivor they fly into takes 2 hearts and is
knocked away. The cooldown is only spent on the throw. If the Mutant you threw gets a kill within 10
seconds, you earn +0.5 scorestreak.
Boulder Toss
No Mutant nearby, or sneaking? The ability rips a boulder out of the ground and holds it
overhead (free). Press again to throw it, or it goes on its own after 2s: about 25 blocks, and the first
survivor in its path takes 2 hearts and knockback.
Unlock quests
Deal 150 hearts to the Brood Host
Help kill the Brood Host twice
Infect 40 survivors
Only survivors can hurt the Brood Host, so the first two are done as a survivor.
750 Spores90 Marrow12 Heartwood
Class skills
Any Passenger: pick up and throw an infected teammate of any class.
Shockwave Landing: the crash hits every survivor within 2.2 blocks.
Fastball: flatter, faster throws for teammates and boulders.
Total
All three classes: 2,850 Spores, 350 Marrow and 53 Heartwood,
plus their quests.
Survivors
The Brood Host
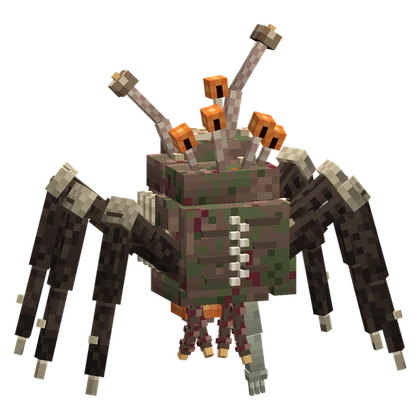
The Brood Host, rendered from the game's own model
A rooted fungal horror that rises from its nest and stays for the whole round. It's a fight the survivors
choose to take: go and bring it down for a big share of resources, or leave it be.
When and where
Every round has a 15% chance of the Brood Host, rolled when everyone lands on the map, before the
Mother Zombies are picked. At most one boss comes in a round.
When it rolls, everyone is told straight away (a title, a sound and a pulse of darkness) and where
its nest is.
It rises at its nest, a fixed spot on each map, the moment the infection begins, and stays all
round. It needs 6+ players and a map with a nest.
It has 60 hearts, plus 40 for every survivor alive when it rises. Eight survivors means 380
hearts.
Fighting it
Only survivors can hurt it. Melee counts one hit every 0.4s per player. Arrows deal a quarter.
A frag grenade or Spore Bomb hits it for a flat 5 hearts.
Every 15 hearts you deal drops a Host Spore into your inventory, which heals 2 hearts like an apple.
Its health bar floats above the Host itself, not at the top of your screen, and its outline shows
through walls for everyone.
It doesn't power up the horde while it's alive.
Its phases
Phase
When
What changes
Emerging
first 5s
Can't be hurt while it climbs out.
Awake
above 60%
Green outline. Rupture, Sac Mortar and Gaze.
Enraged
60% – 25%
Orange outline and a roar. Adds Grasping Roots, Carrion Swarm and Hatching. Infected within 12 blocks get Speed I.
Frenzy
25% and below
Red outline. Every attack comes 40% faster, Rupture grows to 5 blocks, and Spore Rain begins.
Its attacks
All of its damage ignores armour and can infect you. Its aimed attacks only target survivors who have
damaged it, within 80 blocks.
Attack
Effect
Every
How to dodge
Ground Rupture
1.5 hearts and thrown back, to anyone within 4 blocks
6s
A red ring warns you. Back off.
Sac Mortar
1 heart and Slowness I for 3s, per sac
8s
Lobbed where you stood. Keep moving.
Grasping Roots
Rooted in place for 2s
10s
Step out of the ring at your feet.
Carrion Swarm
A homing tube of bats: 1 heart and Darkness for 3s
14s
Break line of sight.
Gaze
Marks you: glowing for everyone for 6s, and the infected are told
18s
Break line of sight during the 1.5s beam.
Hatching
2 hounds (10 hearts each) that hunt and bite 1 heart a second for 12s
25s
Kill them, or kite them.
Spore Rain
½ heart every 4s to survivors under open sky (Frenzy only)
4s
Get a roof over your head.
The "every" times are normal speed. In Frenzy each comes 40% sooner.
How it ends
Outcome
Result
Survivors kill it
200 Spores, 30 Marrow and 5 Heartwood, shared between everyone who damaged it by how much they dealt. Into your pouch.
It survives the round
Every pouch pays two thirds.
Infected
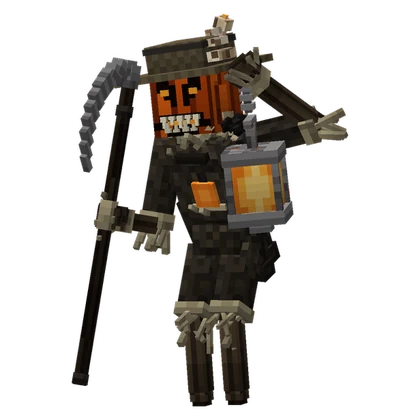
The Harvestman
The Harvestman, rendered from the game's own model
The infected get a boss of their own. A giant scarecrow-reaper rises at the edge of the map with a torch and
walks for the horde's Blight Heart, a beating heart grown from the ground. If he burns it, the horde
pays. Survivors can only watch.
When
On maps that have him, every round has a 15% chance of the Harvestman, rolled at the start
alongside the Brood Host's (never both in one round). When he rolls, everyone is told straight away, with
where he'll be.
He walks in at 2:50 left, in rounds with 6+ players.
He has 50 hearts, plus 25 for every infected when he rises.
The infected see him and the Heart outlined through walls. Survivors don't.
Stopping him
Only the infected can hurt him. He ignores survivors, and their hits do nothing. Melee counts one
hit every 0.4s per player, and arrows deal half.
Deal 8 hearts within 3 seconds to stagger him for 1.5s: it interrupts his torch and shoves
him back 2.5 blocks. His burn progress is kept, so keep the pressure on.
At half health he rages: he walks faster, attacks 30% more often, and his fire turns to soul fire.
He needs 20 seconds of unbroken torching to burn the Heart. The boss bar shows how far he's got.
His attacks
He only ever attacks the infected, and his damage ignores armour.
Attack
Effect
Every
Reach
Reap
3 hearts, 2s of fire and knockback
2.5s
4.5 blocks in front; anyone within 2
Lantern Slam
2 hearts, 3s of fire and a launch
8s
5-block ring, when you crowd him
Searchlight
1 heart, 2s of fire and glowing for 8s
14s
A 14-block sweeping beam
Crows
3 crows: 1.5 hearts and Blindness for 2s each
16s
Infected within 18 blocks
How it ends
Outcome
Result
The infected kill him
120 Spores, 20 Marrow and 3 Heartwood, shared by damage dealt, into the pouch. Every infected gets Speed I for 30s.
He burns the Heart
Every infected glows and gets Weakness I and Slowness I for 30s. Every survivor still alive earns +10 Spores.
The round ends first
He leaves. No payout.
Infected
Spore Hounds
A new infected scorestreak. Unlock it in /prestigeshop for 2 prestige tokens (while the
event is on) and equip it in /streaks.
It fires at an infected scorestreak of 3, once per life.
You get 2 spore-grown hounds with 15 hearts each, for 30 seconds.
They hunt the nearest survivor within 24 blocks and bite for 1 heart every half-second. Their bites
count as yours, so they can infect.
Their bites hit lower-rank survivors softer than higher-rank ones.
Hiding won't shake them. If they can't find a survivor for 5 seconds, they teleport to within
15 blocks of the closest one.
They keep hunting after you die or turn. They end when their 30 seconds run out, when survivors kill
them, or when the round ends.
Works for players up to Rank 18.
Everyone
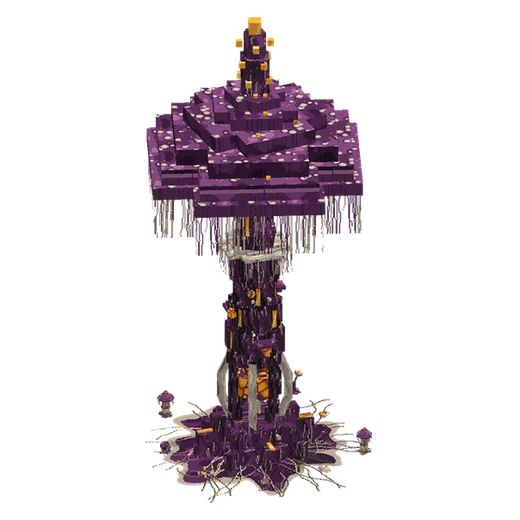
The Origin Spire
The Origin Spire, as it stands in game
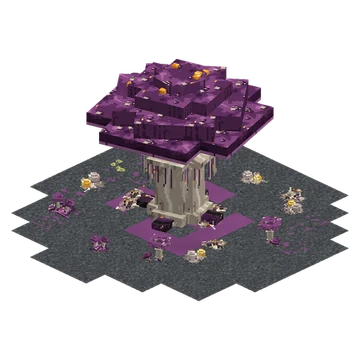
Some maps get the Blight's source: a towering fungal spire about 35 blocks tall, with a heart that
beats loud enough to hear from 30 blocks away, though not through walls. Spores drift from its crown
and embers climb its trunk.
It spreads. Every 6 hours that the event is on, its Blight creeps 4 blocks further across the map,
growing patches of mycelium over floors, walls and ceilings. Chat tells you when it grows.
It reaches its full spread, 96 blocks out, after about a week of the event.
Spawn sanctuaries always stay clear.
Everyone
The Spore Packs
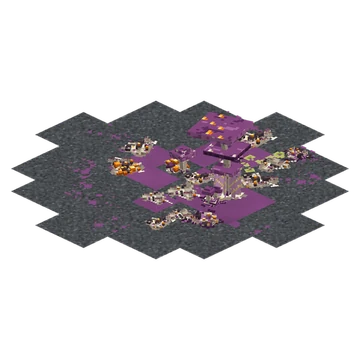
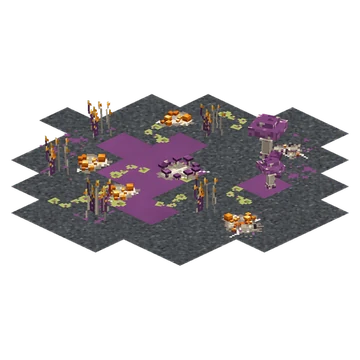
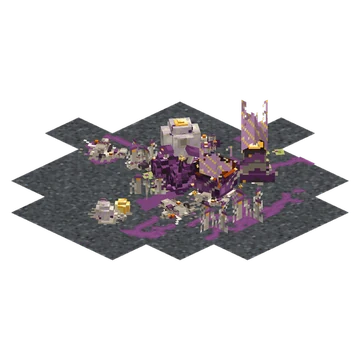
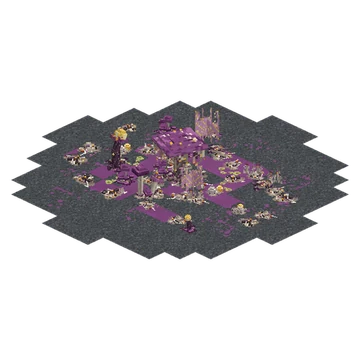
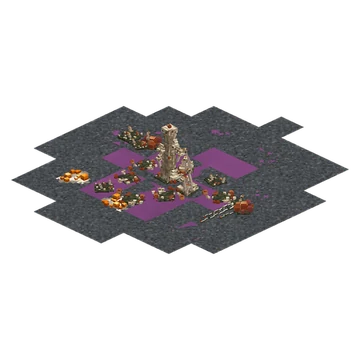
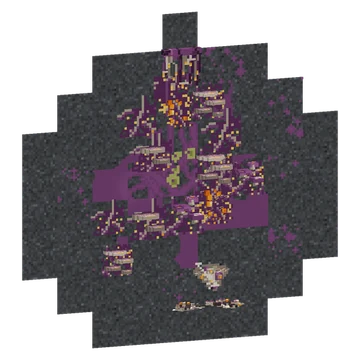
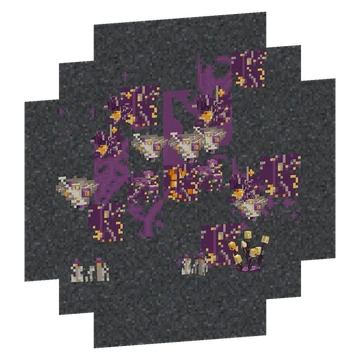
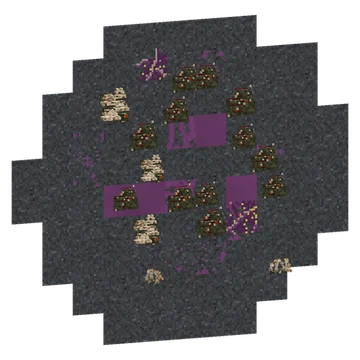
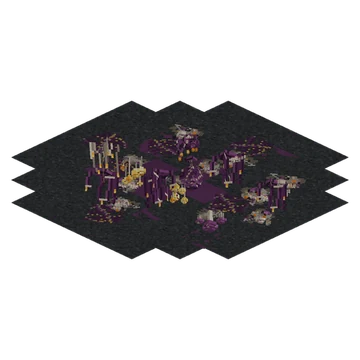
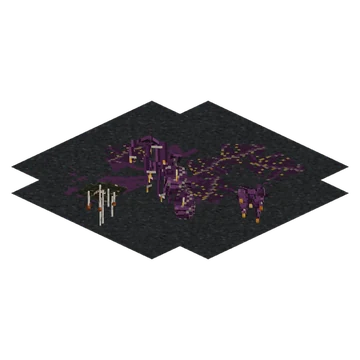
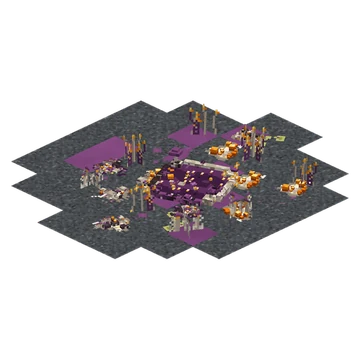
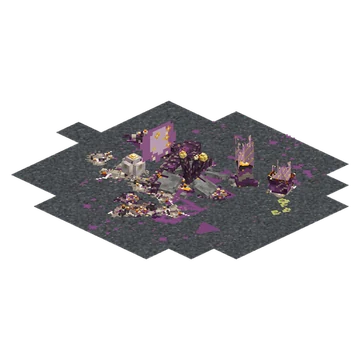
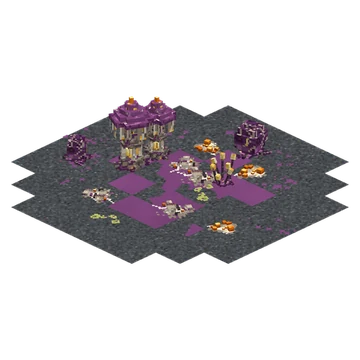
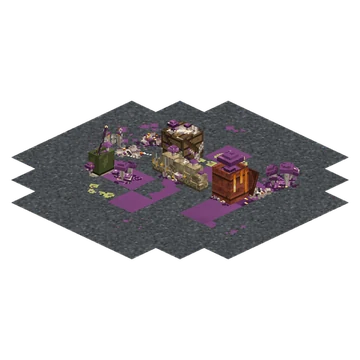
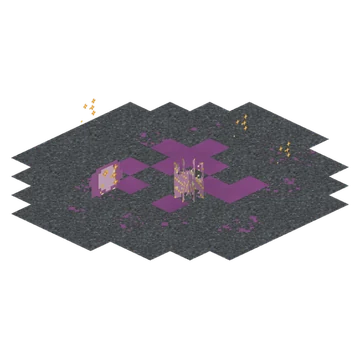
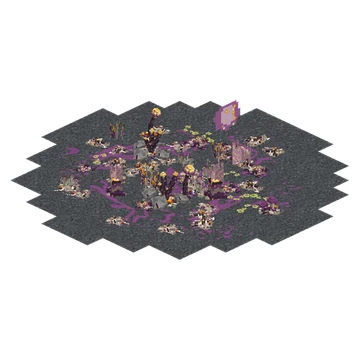
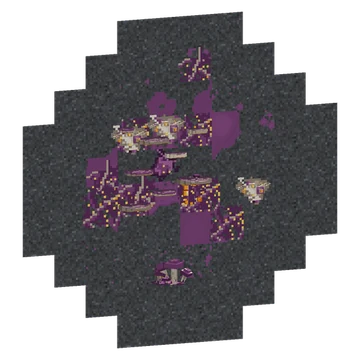
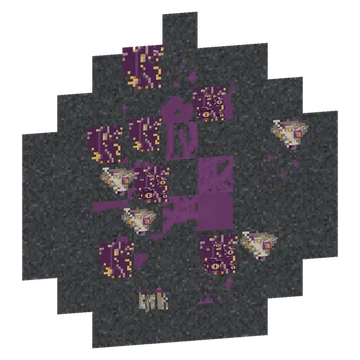
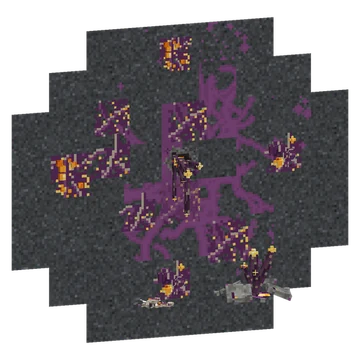
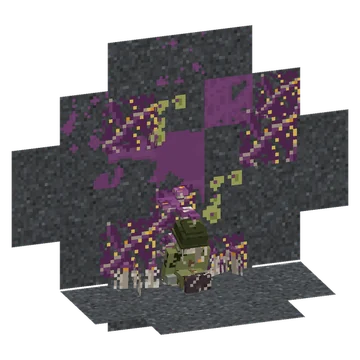
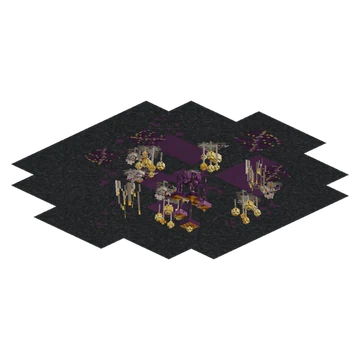
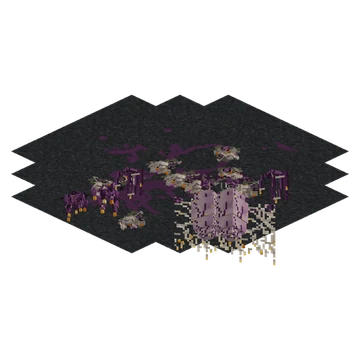
The Blight you see on the maps is placed by our builders with Spore Packs: 27 ready-made scenes
that grow onto a floor, a wall or a ceiling. Here's every one, rendered from the game's own models exactly as
it places in game.
Floor
Blight Bloom
A lush meadow: mould paint, a mycelium carpet, glowcaps and puffballs, one tall stalk, a spore haze.
Floor
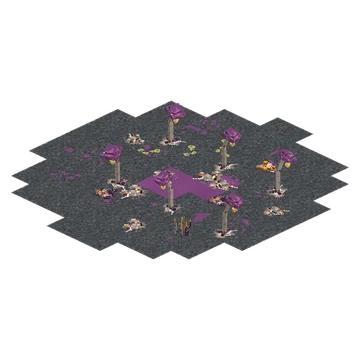
Fairy Hollow
A fairy ring in a clearing, ringed by tall blightcaps, lichen and glowing nodules.
Floor
Rot Heap
A rotting mound with a giant puffball, a burst pod and a vent puffing spores.
Floor
Blight Grove
A blight tree with giant stalks and saplings around it: a landmark - keep it out of firing lines.
Floor
Spore Garden
The original spore set: patches, sprouts and sacs around a blooming centre.
Wall
Shelf Cascade
Shelf fungi climbing a wall over veins, a drape at the top and growth along the foot.
Wall
Blister Wall
Swollen spore sacs and glowing nodules bursting out of a mould-painted wall.
Wall
Creeping Wall
The original spore set's creep and shelves over painted veins.
Ceiling
Hanging Garden
Strands, tendrils, glowing bulbs and a hanging pod from a mould-painted ceiling.
Ceiling
Drip Nest
Fungal drips and tendrils hanging from a spreading ceiling stain.
Floor
Glow Pool
A pool of glowing spore-milk ringed by spore grass and tufts, glow nodules in the moss, motes drifting above.
Floor
Eruption Site
The floor cracked open by bursting tendrils: root crawlers, a spore vent, burst pods and a spore cloud.
Floor
Spire Nursery
The Origin's offspring taking root: seedling spires, sealed spore pods and cordyceps on a creeping stain.
Floor
Fallen Outpost
An overrun position: sandbags, a burst oil drum, a crate, a helmet and a radio still glowing, all swallowed by mycelium.
Floor
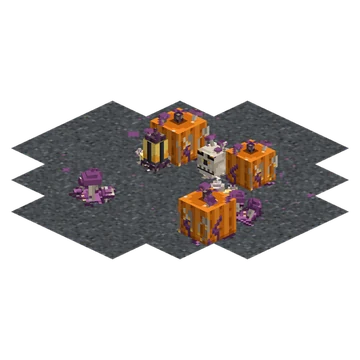
Pumpkin Rot
A Halloween corner: mouldy jack-o-lanterns, an infected skull and a spore lantern among glowcaps.
Floor
Consumed Woods
A dead tree being eaten alive, braided stalks, antler fungus and a mushroom streetlamp: a landmark - keep it out of firing lines.
Floor
Lamp Row
Mushroom streetlamps down both sides of a path (the way you're facing) over a mycelium carpet: lights a dark corridor.
Floor
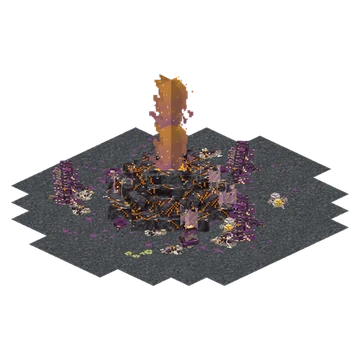
Geyser Vent
A 6-block spore geyser bursting from cracked ground, with vents, puffballs and drifting haze: a landmark.
Floor
Giant's Clearing
A 6-block mega cap in a ring of glowcaps, puffballs and blightcaps: a landmark.
Floor
Spore Haze
Atmosphere for a big open space: floating spore clouds and motes over a light stain. Nothing underfoot.
Floor
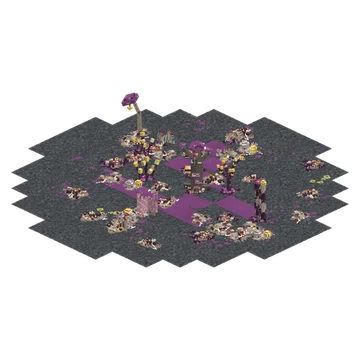
Full Infestation
The densest pack: paint, carpet, clusters, vents, pods, stalks, roots and haze all at once. Where the Blight has won.
Wall
Shelf Terrace
A 3x3 terrace of glowing shelf fungi climbing the wall over veins, with growth along its foot.
Wall
The Watchers
Fungal eye-bulbs that blink at players, set in veins, lichen and mycelium blotches.
Wall
Wall Breach
A torn hole with tendrils pouring out, blisters around it and roots crawling across the floor below.
Wall
Fallen Soldier
An overgrown soldier sitting on the floor with his back to the wall (aim at the wall; he drops to the floor below), his helmet and radio beside him.
Ceiling
Fungal Chandelier
A glowing fungal chandelier with bulbs and strands around it on a veined ceiling: lights a room.
Ceiling
Cocoon Nest
Victims hung up in cocoons under a torn web veil, with tendrils and drips around them.
Everyone
Hats & the Halloween look
Limited-edition hats
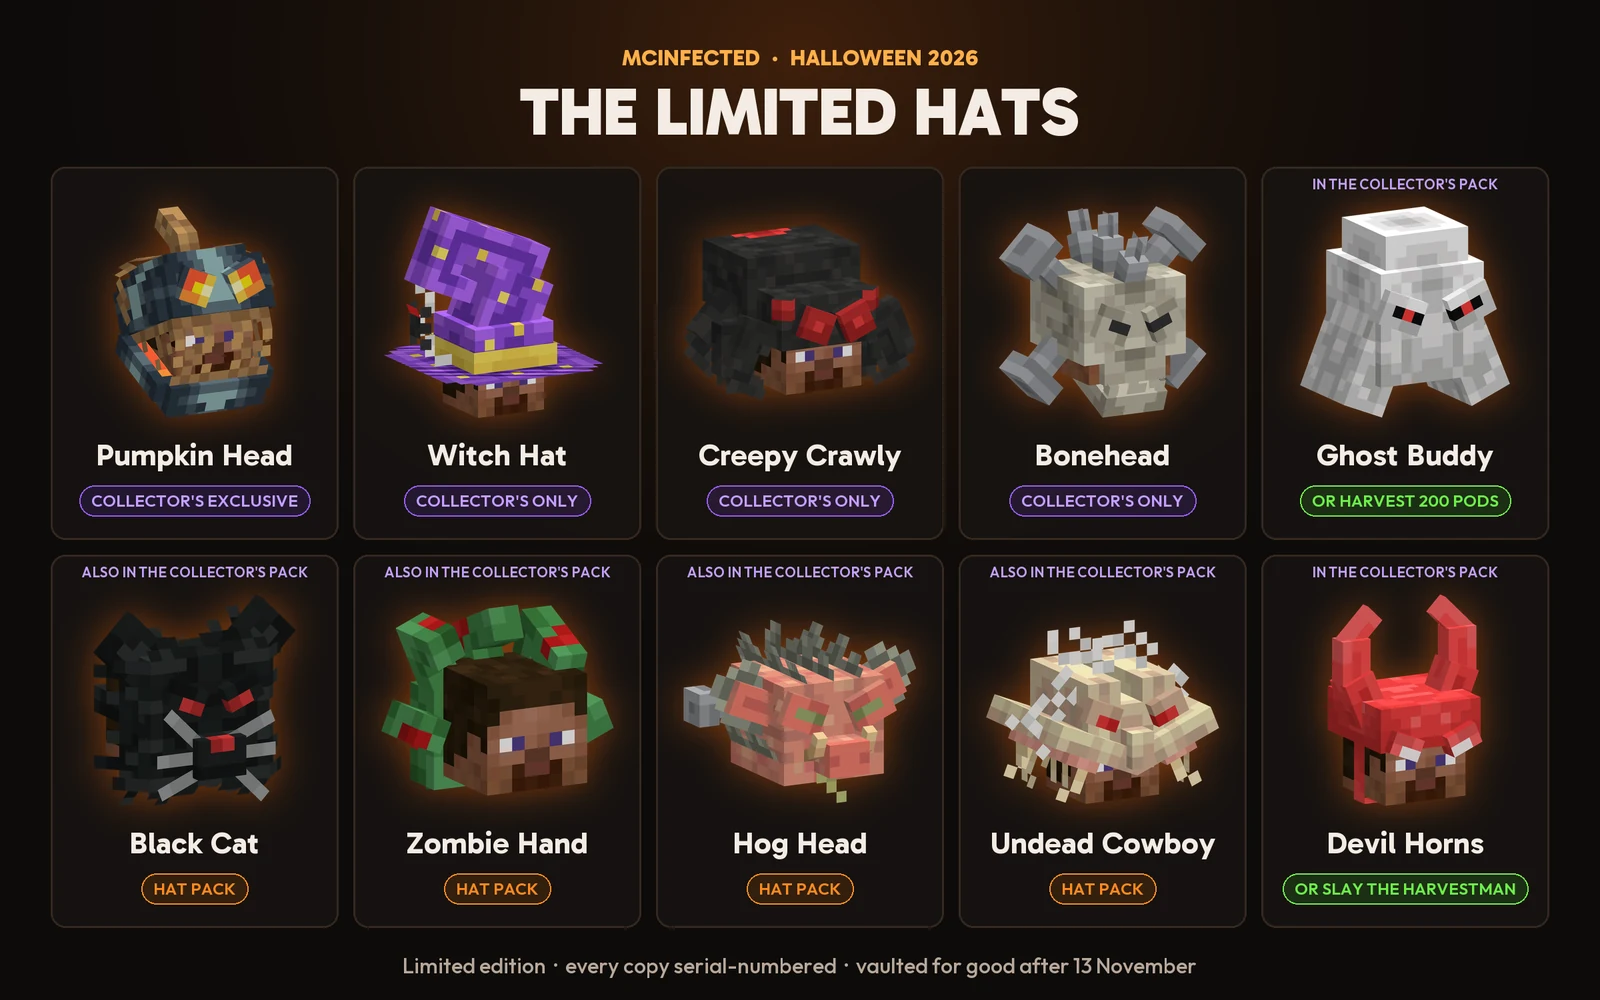
Ten Halloween hats, on sale until 13 November. After that they're vaulted, never to return.
Every copy carries a serial number in the order players got it ("Your copy: #014"), and you can try one on in
the lobby for 10 seconds.
How
Hats
Halloween Hat Pack $12.99
Black Cat, Zombie Hand, Hog Head, Undead Cowboy
Collector's Pack $19.99
All ten, including four only in this pack: Pumpkin Head, Witch Hat, Creepy Crawly and Bonehead. Also 3 Cookie Boosters, 3 Mastery Boosters, 5 crates and the title "The Hallowed".
Also in the store for Halloween: the Hallowed Chroma Set ($14.99). Hallowed Leather fades from pumpkin orange to
black and back, and the Hallowed Trim carves a glowing jack-o'-lantern into your armour that stays lit as it goes
dark. It's sold until 13 November too, then vaulted with the hats.
Around the map
Graves: where a survivor falls, a small headstone appears reading RIP and their name. They clear
when the round ends.
Rotting food: survivors' apples, golden apples, melon, chicken and baked potatoes start
Rotting a third of the way through the round and are Rotted by the last minute or so. Only
the look changes; they heal the same.
Brainzzzzz, the infected's potato, finally looks like a brain.
The Web Bomb: a new survivor grenade in the random-grenade rewards from killstreaks. It lays a
ball of cobwebs for 3 seconds.
Orange and black: the sidebar, chat, titles, server list and scorestreak messages all turn
Halloween colours, and the lobby sits at midnight.
Everyone
What you keep after Halloween
Everything you earn is yours to keep, and you keep using it all year. Only earning and buying need
the event to be on.
Yours for good
When the event ends
Event classes you unlocked
Kept, and playable all year.
Halloween upgrades
Kept, and working all year while the base perk is level 2 or higher.
Spore Hounds
Kept, and usable all year.
Halloween hats
Kept and wearable all year. Vaulted for everyone else after 13 November.
Spores, Marrow and Heartwood
Kept, and spendable again next Halloween.
Quest progress
Saved. It picks up where you left off next Halloween.
Everyone
Questions
Why didn't my pouch pay out?
The round didn't count as a real fight: the horde didn't deal 10 hearts to survivors, the round never had 6
active players at once, or there were never 2 infected at once. You still keep your cookies, and the game
tells you which rule failed.
Can the infected harvest pods?
No. They trap them instead, so the next survivor to harvest one glows for everyone for 3 seconds.
Do I need a high rank for the upgrades?
No rank requirement, and you don't need the perk at all to buy one. The upgrade starts working once the base
perk is level 2 in /prestigeshop.
Does what I earn still work after Halloween?
Yes. Event classes, Halloween upgrades, Spore Hounds and hats all stay yours and keep working all year. Only
earning and buying need the event to be on.
How often does a boss show up?
Each round has a 15% chance of the Brood Host and, on maps that have him, a 15% chance of the Harvestman,
but never both. You'll know at the start of the round: everyone is told, with where it will be.
Can I buy the event classes with real money?
No. Every event class is earned through its quests and paid for with resources from playing.
Can I farm pods on a quiet server?
Pods don't work with fewer than 6 players, each player can harvest 10 times a round, and the pouch only pays
out for real rounds. Playing the round is always worth more than hiding to farm.
What if two people go for the same pod?
Whoever finishes the 1-second hold first takes it. The label shows "Being harvested..." while someone's on it.
This guide is a preview. Halloween is still being finished, so some numbers
may change before it goes live. Questions? Ask in the Discord.
 MCINFECTED
 Spore Pod
 Prime Spore Pod
 Blight Pod
 Giant Puffball
 Glowcap Cluster